Using ASP.NET Zero with DevExtreme Angular Part 4
The ASP.NET Zero framework provides a robust foundation for building web applications with Angular and ASP.NET Core. In this blog post series, we explore the integration of ASP.NET Zero with DevExtreme Angular, a powerful UI component library.
In the last part of the series, we focus on implementing the editing functionality in the phone book application. We start by adding a EditPerson method to the server-side application service, IPersonAppService, and define the necessary DTO (Data Transfer Object) to transfer person information.
With these steps completed, we enhance the phone book application by enabling users to edit person details, improving the overall user experience and data management capabilities.
Editing a Person
In this section, we will focus on adding the ability to edit a person in the phone book application. We will make changes to the application service, generate the service proxies, and update the component script accordingly.
Application Service
To enable editing functionality, we need to add a EditPerson method to the server-side IPersonAppService. We'll define the method as follows:
Task EditPerson(EditPersonInput input);
Additionally, we need to create a DTO (Data Transfer Object) to transfer the person's Id, Name, Surname, and EmailAddress. Let's define the EditPersonInput DTO:
public class EditPersonInput: EntityDto
{
    public string Name {get;set;}
    public string Surname {get;set;}
    public string EmailAddress {get;set;}
}
The EntityDto is a convenient shortcut provided by ABP (ASP.NET Boilerplate) when we only need to transfer an Id value.
The implementation of the EditPerson method in the PersonAppService is straightforward. We retrieve the person entity based on the provided Id and update its properties with the values from the input DTO. Finally, we save the changes using the _personRepository. Here's the implementation:
public async Task EditPerson(EditPersonInput input)
{
    var person = await _personRepository.GetAsync(input.Id);
    if (input.Name != null)
    {
        person.Name = input.Name;
    }

    if (input.Surname != null)
    {
        person.Surname = input.Surname;
    }

    if (input.EmailAddress != null)
    {
        person.EmailAddress = input.EmailAddress;
    }

    await _personRepository.UpdateAsync(person);
}
Service Proxy Generation
Since we have made changes to the server-side services, it is important to regenerate the client-side service proxies using NSwag. Ensure that the server-side application is running, and then run the userefresh.bat script, as explained in the previous parts of this series.
Component Script
To incorporate the update functionality into the phone book component, we need to make changes to the phonebook.component.ts file.
First, import the necessary dependencies and update the PhoneBookComponent class definition as follows:
import {Component, Injector} from '@angular/core';
import {AppComponentBase} from '@shared/common/app-component-base';
import {appModuleAnimation} from '@shared/animations/routerTransition';
import {EditPersonInput, PersonServiceProxy} from "@shared/service-proxies/service-proxies";
import CustomStore from "@node_modules/devextreme/data/custom_store";

@Component({
    templateUrl: './phonebook.component.html',
    animations: [appModuleAnimation()]
})

export class PhoneBookComponent extends AppComponentBase {

    dataSource: any;
    refreshMode: string;

    constructor(
        injector: Injector,
        private _personService: PersonServiceProxy
    ) {
        super(injector);
        this.getData();
    }

    getData() {
        this.refreshMode = "full";

        this.dataSource = new CustomStore({
            key: "id",
            load: (loadOptions) => {
                return this._personService.getPeople("").toPromise();
            },
            insert: (values) => {
                return this._personService.createPerson(values).toPromise()
            },
            update: (key, values) => {
                return this._personService.editPerson(new EditPersonInput({
                    id: key,
                    name: values.name,
                    emailAddress: values.emailAddress,
                    surname: values.surname
                })).toPromise();
            },
            remove: (key) => {
                return this._personService.deletePerson(key).toPromise();
            }
        });
    }
}
Go to phonebook.component.html and add dxo-editing tag with allowUpdating true option:
<div [@routerTransition]>
    <div class="content d-flex flex-column flex-column-fluid">
        <sub-header [title]="'PhoneBook' | localize">
        </sub-header>

        <div [class]="containerClass">
            <div class="card card-custom">
                <div class="card-body">
                    <dx-data-grid
                        id="phonebookgrid"
                        [dataSource]="dataSource"
                        [repaintChangesOnly]="true"
                        [showBorders]="true">

                        <dxo-scrolling mode="virtual"></dxo-scrolling>
                        <dxo-editing
                            mode="row"
                            [refreshMode]="refreshMode"
                            [allowAdding]="true"
                            [allowUpdating]="true"
                            [allowDeleting]="true">
                        </dxo-editing>

                        <dxi-column dataField="name" caption="{{'Name' | localize}}"></dxi-column>
                        <dxi-column dataField="surname" caption="{{'Surname' | localize}}"></dxi-column>
                        <dxi-column dataField="emailAddress" caption="{{'EmailAddress' | localize}}"></dxi-column>
                    </dx-data-grid>
                </div>
            </div>
        </div>
    </div>
</div>
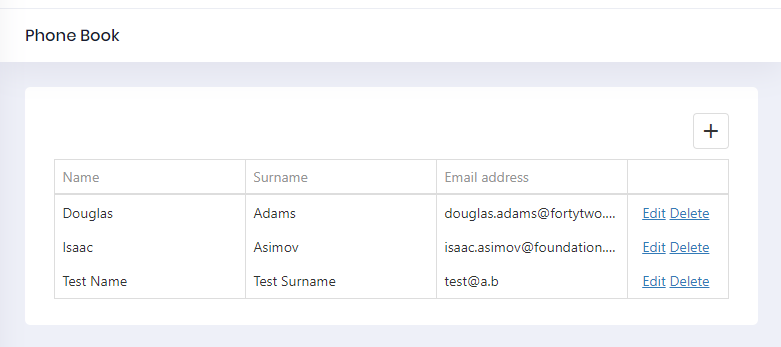
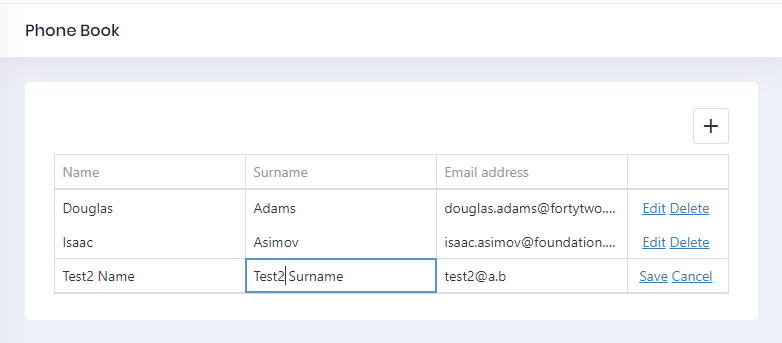
It first shows a confirmation message when we click the edit button:
Multi Tenancy
We have built a fully functional application until here. Now, we will see how to convert it to a multi-tenant application easily. Logout from the application before any change.
Enable Multi Tenancy
We disabled multi-tenancy at the beginning of this document. Now, re-enabling it in PhoneBookDemoConsts class:
public const bool MultiTenancyEnabled = true;
Make Entities Multi Tenant
In a multi-tenant application, a tenant's entities should be isolated by other tenants. For this example project, every tenant should have own phone book with isolated people and phone numbers.
When we implement IMustHaveTenant interface, ABP automatically filters data based on current Tenant, while retrieving entities from database. So, we should declare that Person entity must have a tenant using IMustHaveTenant interface:
public class Person : FullAuditedEntity, IMustHaveTenant
{
    public virtual int TenantId { get; set; }

    //...other properties
}
We may want to add IMustHaveTenant interface to also Phone entity. This is needed if we directly use phone repository to get phones.In this sample project, it's not needed.
Since entities have changed, we should create a new database migration:
Add-Migration "Implemented_IMustHaveTenant_For_Person"
This command creates a new code-first database migration. The migration class adds an annotation this is needed for automatic filtering. We don't have to know what it is since it's done automatically. It also adds a TenantId column to PbPersons table as shown below:
migrationBuilder.AddColumn<int>(name: "TenantId",table: "PbPersons",nullable: false,defaultValue: 1);
I added defaultValue as 1 to AddColumn options. Thus, current people are automatically assigned to default tenant (default tenant's id is always 1).
Now, we can update the database again:
Update-Database
Running the Application
It's finished! We can test the application. Run the project, login as the host admin (click Change link and clear tenancy name) shown below:
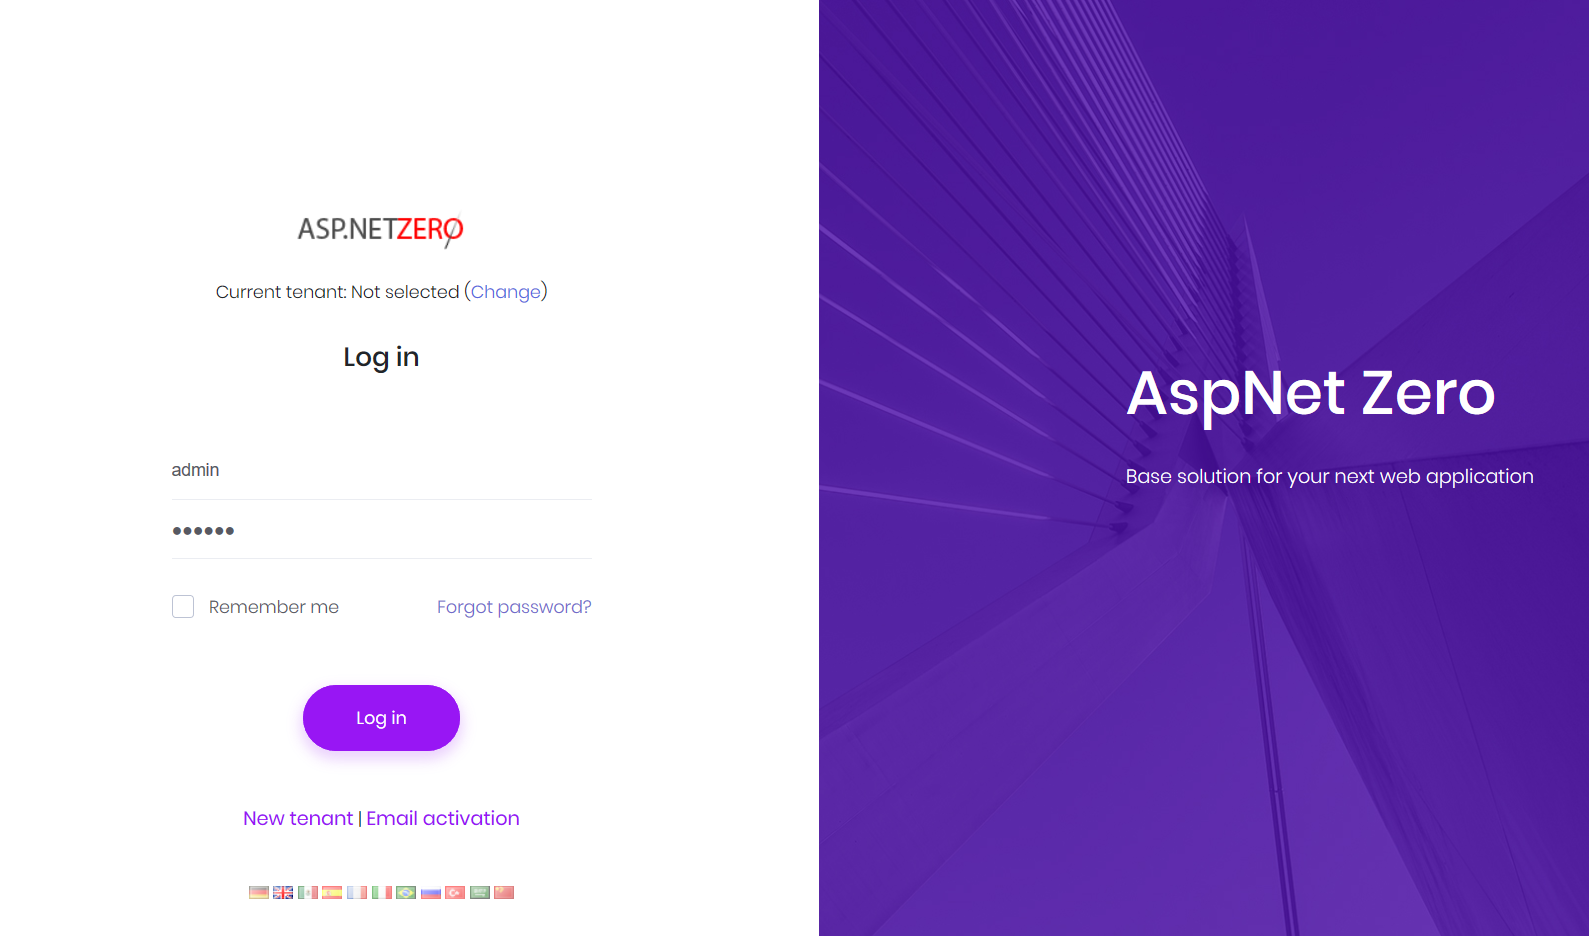
Default admin password is 123qwe. After login, we see the tenant list which only contains a default tenant. We can create a new tenant:
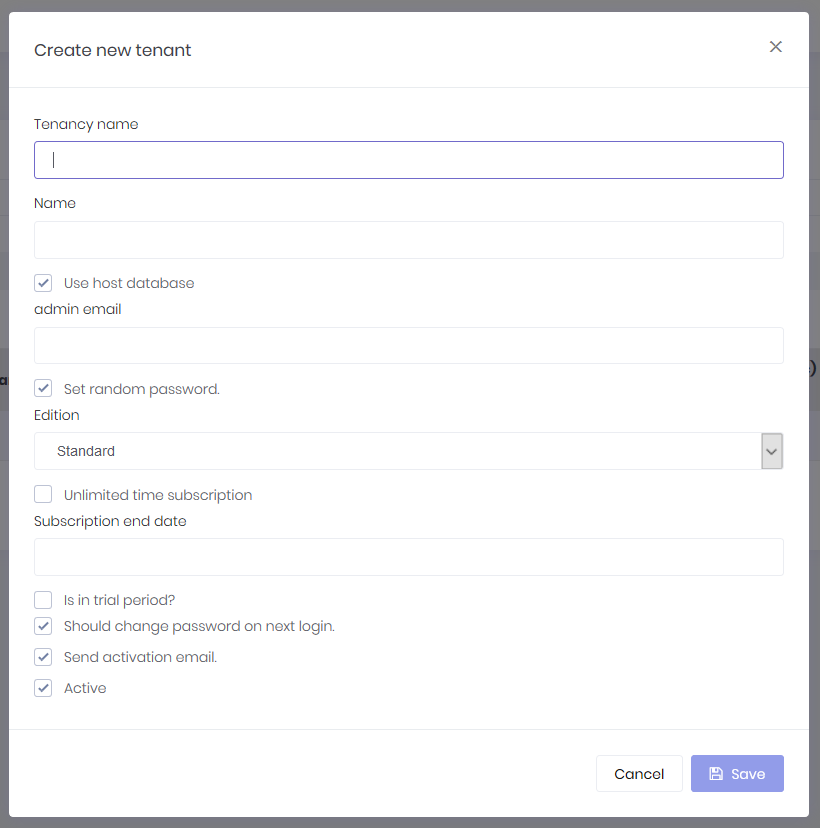
I created a new tenant named trio. Now, tenant list has two tenants:

I can logout and login as trio tenant admin (Change current tenant to trio):
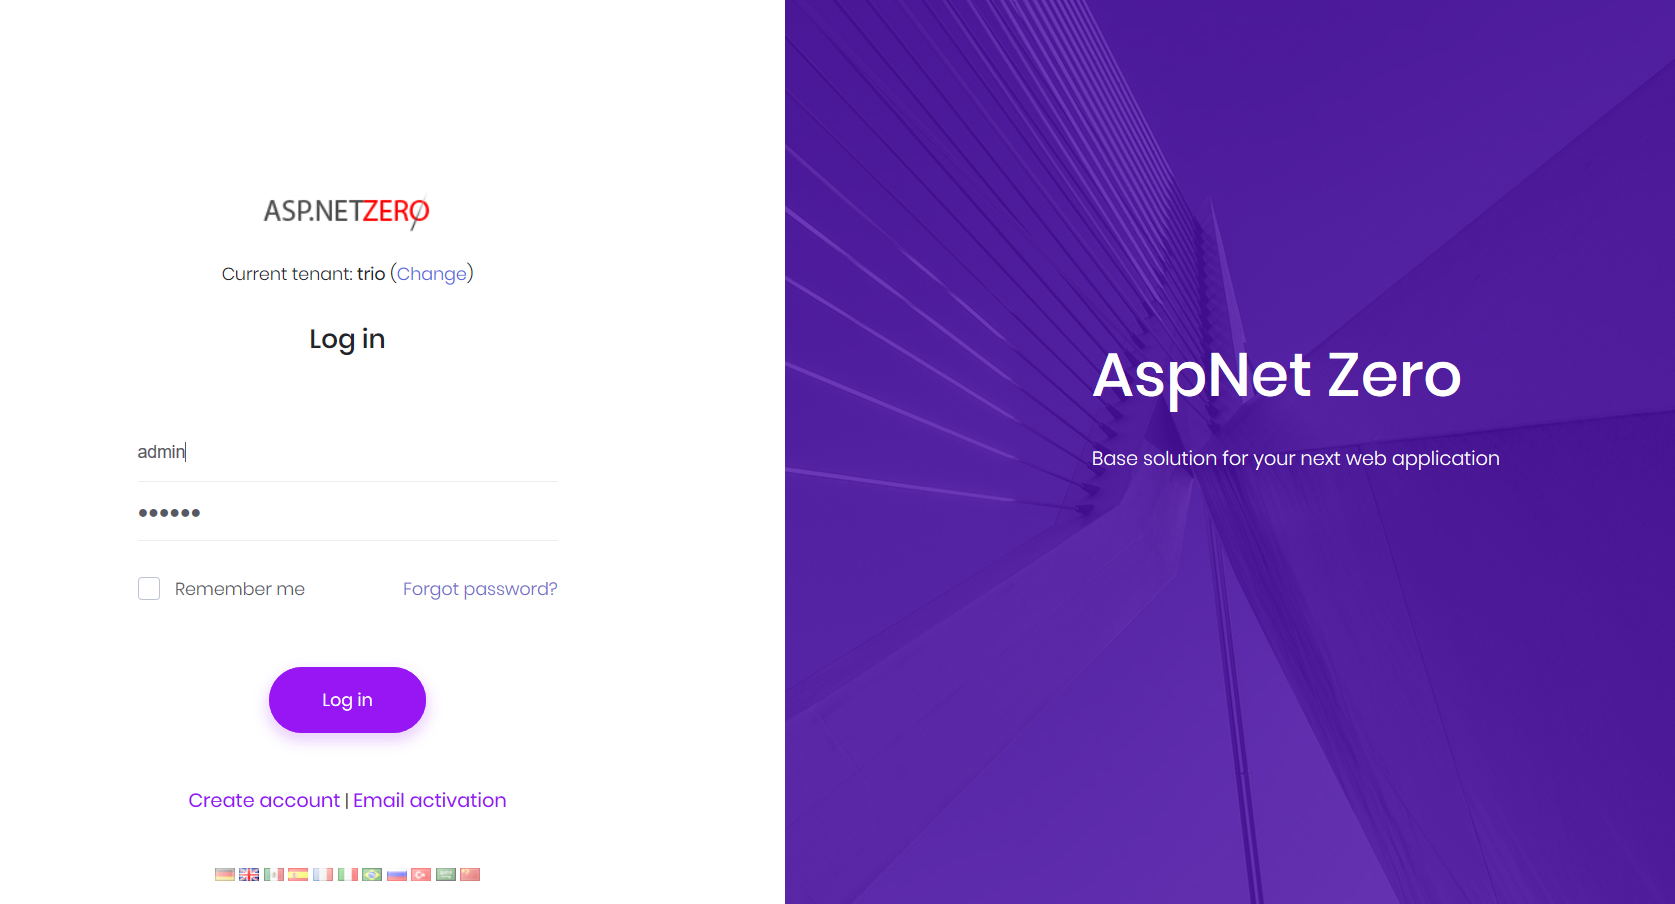
After login, we see that phone book is empty:
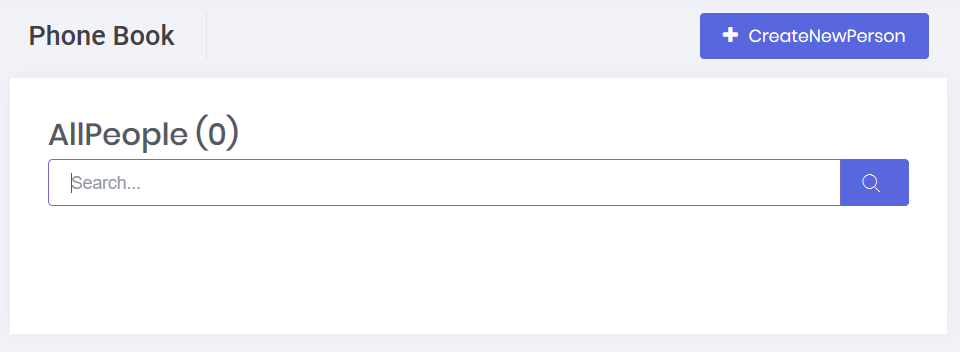
It's empty because trio tenant has a completely isolated people list. You can add people here, logout and login as different tenants (you can login as default tenant for example). You will see that each tenant has an isolated phone book and can not see other's people.
Conclusion
In this blog post series, we have explored the integration of ASP.NET Zero with DevExtreme Angular, showcasing the implementation of various features in the phone book application. We started by adding the necessary server-side methods and DTOs for editing a person's information. Then, we regenerated the client-side service proxies to ensure seamless communication between the Angular application and the ASP.NET Zero backend.
ASP.NET Zero empowers developers to build sophisticated web applications by providing a solid architectural foundation and flexibility for customization. The integration with DevExtreme Angular further enhances the user interface and improves the overall user experience.
We hope this blog post series has been insightful and helpful in understanding the integration of ASP.NET Zero with DevExtreme Angular. By leveraging these powerful frameworks, you can create feature-rich applications with ease.
Thank you for joining us on this journey, and we wish you success in building your own applications using ASP.NET Zero and DevExtreme Angular!
Source Code
You should purchase ASP.NET Zero in order to get source code. After purchasing, you can get the sample project from private Github repository: https://github.com/aspnetzero/aspnet-zero-samples
